Vue2

我们通过Vue提供的生命周期钩子对Vue的整个生命周期来加深我们对它的理解。
App.vue
<template>
  <div id="app">
    <el-button type="primary" size="small" @click="update">Update</el-button>
    <el-button type="danger" size="small" @click="destory">Destory</el-button>
    <div>Input Lazy: <input v-model.lazy="message" /></div>
    <div>Input: <input v-model="message" /></div>
    <div>{{ message }}</div>
  </div>
</template>

<script>
import ChildLifeCycle from "./components/ChildLifeCycle.vue";

export default {
  name: "App",
  data() {
    return {
      message: "hello"
    };
  },
  beforeCreate() {
    console.group("beforeCreate");
    console.log(`      el: ${this.$el}`);
    console.log(`    data: ${this.$data}`);
    console.log(` message: ${this.message}`);
  },
  created() {
    console.group("created");
    console.log(`      el: ${this.$el}`);
    console.log(`    data: ${this.$data}`);
    console.log(` message: ${this.message}`);
  },
  beforeMount() {
    console.group("beforeMount");
    console.log(`      el: ${this.$el}`);
    console.log(this.$el);
    console.log(`    data: ${this.$data}`);
    console.log(` message: ${this.message}`);
  },
  mounted() {
    console.group("mounted");
    console.log(`      el: ${this.$el}`);
    console.log(this.$el);
    console.log(`    data: ${this.$data}`);
    console.log(` message: ${this.message}`);
  },
  beforeUpdate() {
    console.group("beforeUpdate");
    console.log(`      el: ${this.$el}`);
    console.log(this.$el);
    console.log(`    data: ${this.$data}`);
    console.log(` message: ${this.message}`);
  },
  updated() {
    console.group("updated");
    console.log(`      el: ${this.$el}`);
    console.log(this.$el);
    console.log(`    data: ${this.$data}`);
    console.log(` message: ${this.message}`);
  },
  beforeDestroy() {
    console.group("beforeDestroy");
    console.log(`      el: ${this.$el}`);
    console.log(this.$el);
    console.log(`    data: ${this.$data}`);
    console.log(` message: ${this.message}`);
  },
  destroyed() {
    console.group("destroyed");
    console.log(`      el: ${this.$el}`);
    console.log(this.$el);
    console.log(`    data: ${this.$data}`);
    console.log(` message: ${this.message}`);
  },
  methods: {
    update() {
      this.message = "update hello";
    },
    destory() {
      this.$destroy();
    }
  },
  components: {
    ChildLifeCycle
  }
};
</script>

<style></style>
create + mounted
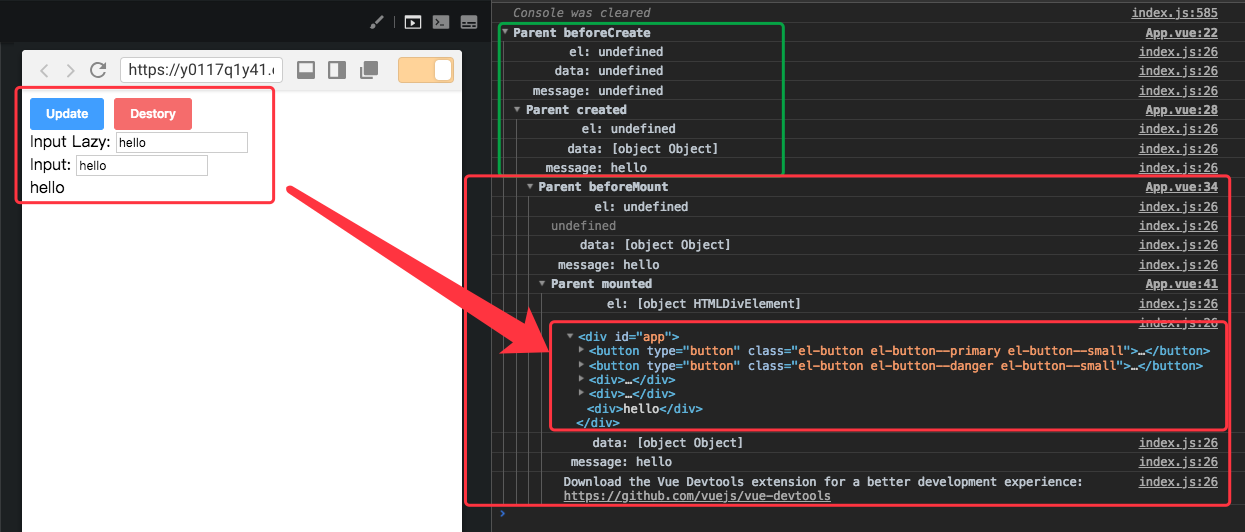
从上面的执行结果我们可以知道,beforeCreate和created,在这两个hook之间,Vue实例会进行事件初始化, 配置Event和watch,对data, props,computed进行数据观测(data observer)。此时,$el还不存在,但在create时data属性已经存在,所以,如果我们的数据不依赖dom,我们可以在这个hook中进行API数据获取。
从生命周期图和console上我们看出,在create时this.$el还是undefined,所以此处会等待Vue实例调用vm.mounted($el),接着判断是否有template配置,有就使用template作为render函数,没有就通过编辑outHTML作为template,render函数选项 > template选项 > outer HTML。此时mounted中el,data都已经初始化了,当我们的数据对DOM有相对应的依赖时,我们可以在这个hook下进行数据请求。
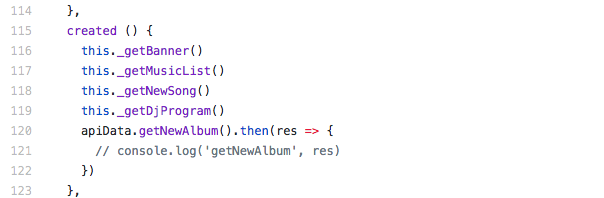
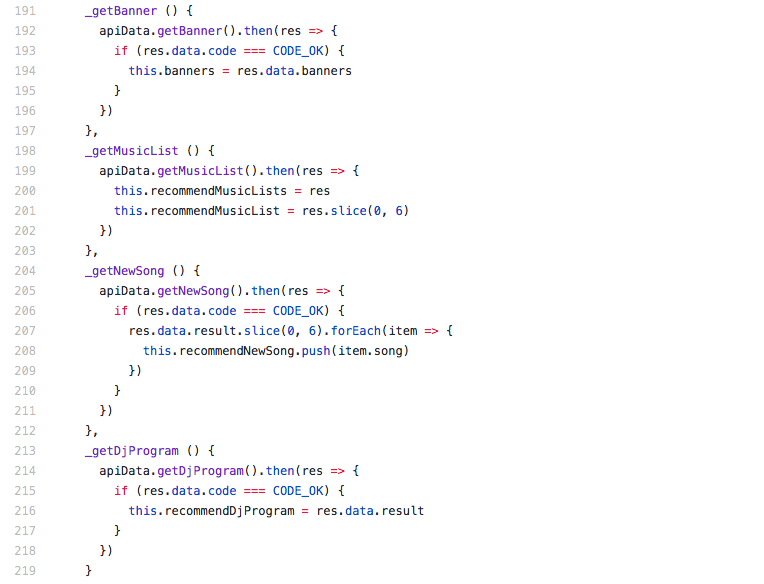
create钩子数据请求demo:
update + destory
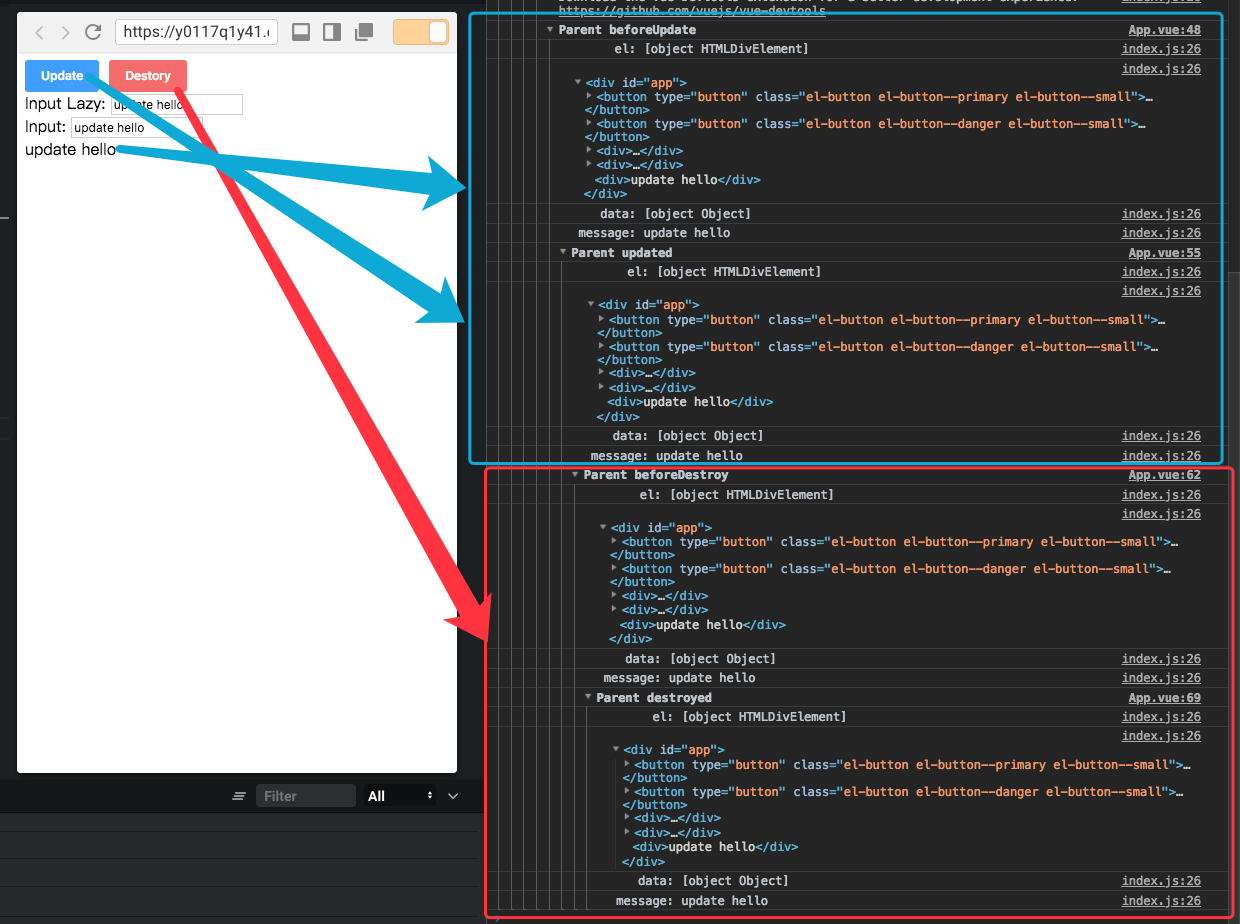
beforeDestroy钩子函数在实例销毁之前调用。在这一步,实例仍然完全可用, this仍能获取到实例。
destroyed钩子函数在Vue 实例销毁后调用。调用后,Vue 实例指示的所有东西都会解绑定,所有的事件监听器会被移除,所有的子实例也会被销毁。组件上几乎没有任何东西。 与之相关的一切都被销毁了。
| 生命周期钩子 | 详细说明 | 使用场景 |
|---|---|---|
beforeCreate | Vue: 在实例初始化之后,立即同步调用,在数据观察(data observer)和 event/watcher 配置之前被调用。在组件的初始化时运行。 data尚未被反应,event尚未建立。 | 常用于初始化非响应式变量 |
created | Vue: 实例已经创建完成之后被调用。在这一步,实例已完成以下的配置:数据观测(data observer),属性和方法的运算, watch/event 事件回调。然而,挂载阶段还没开始,$el 属性目前不可见。在这个钩子中能够访问被动数据并且 event处于活动状态。 模板和虚拟DOM尚未mounted或render。 | 简单的ajax请求,页面的初始化 |
beforeMount | Vue: 在挂载开始之前被调用:相关的 render 函数首次被调用。beforeMount hook:在初始渲染发生之前以及编译模板或渲染函数之后运行。 | 很可能你永远不需要使用这个钩子。 |
mounted | Vue : 在实例挂载之后调用,其中 el 被新创建的 vm.$el 替代。如果 root 实例挂载了一个文档内元素,当 mounted 被调用时 vm.$el 也在文档内。mounted hook,可以完全访问被动组件,模板和呈现的DOM(通过this.$el)。 Mounted是最常用的生命周期钩子。 | 通过ajax获取组件的数据(为此创建的用途)和修改DOM,通常用于集成非Vue库。 |
beforeupdate | Vue: 在 DOM 被 patch 之前调用数据修改。这是在 DOM 更新之前,访问已有 DOM 的最佳时机,例如,手动地移除之前添加的事件监听器。beforeUpdate hook在组件上的数据更改和更新周期开始之后运行,就在patched和re-render DOM之前。 它允许您在组件实际呈现之前获取组件上任何被动数据的新状态。 | |
updated | Vue: 由于数据更改导致的虚拟 DOM 重新渲染和打补丁,在这之后会调用该钩子。当这个钩子被调用时,组件 DOM 已经更新,所以你现在可以执行依赖于 DOM 的操作。然而在大多数情况下,你应该避免在此期间更改状态。如果要相应状态改变,通常最好使用计算属性或 watcher 取而代之。 | 如果您需要在更改属性后访问DOM,这可能是最安全的地方。 |
beforeDestroy | 实例销毁之前调用。在这一步,实例仍然完全可用,this仍能获取到实例。 | 常用于销毁定时器、清理事件或者被动订阅、销毁插件对象等操作 |
destroyed | Vue: Vue 实例销毁后调用。调用后,Vue 实例指示的所有东西都会解绑定,所有的事件监听器会被移除,所有的子实例也会被销毁。使用 destroyed时,组件上几乎没有任何东西。 与之相关的一切都被销毁了。 |
Note:
mounted,updated不能确保所有子组件也被mounted or updated,如果你想要等到整个视图都渲染完毕,请使用vm.$nextTick:
mounted: function () {
  this.$nextTick(function () {
    // Code that will run only after the
    // entire view has been rendered
  })
}
// or
updated: function () {
  this.$nextTick(function () {
    // Code that will run only after the
    // entire view has been rendered
  })
}
- 在服务器端渲染期间不被调用:
beforeMount,mounted,beforeupdate(在服务器端只执行初始渲染),updated,beforeDestroy,destroyed